Set Up eFaktura
Finish the short checklist, set up your signing certificate, confirm the VAT codes and turn eFaktura on.
Only owners and administrators can turn eFaktura on. Open Settings → eFaktura. The checklist at the top names what is left and marks the next step.
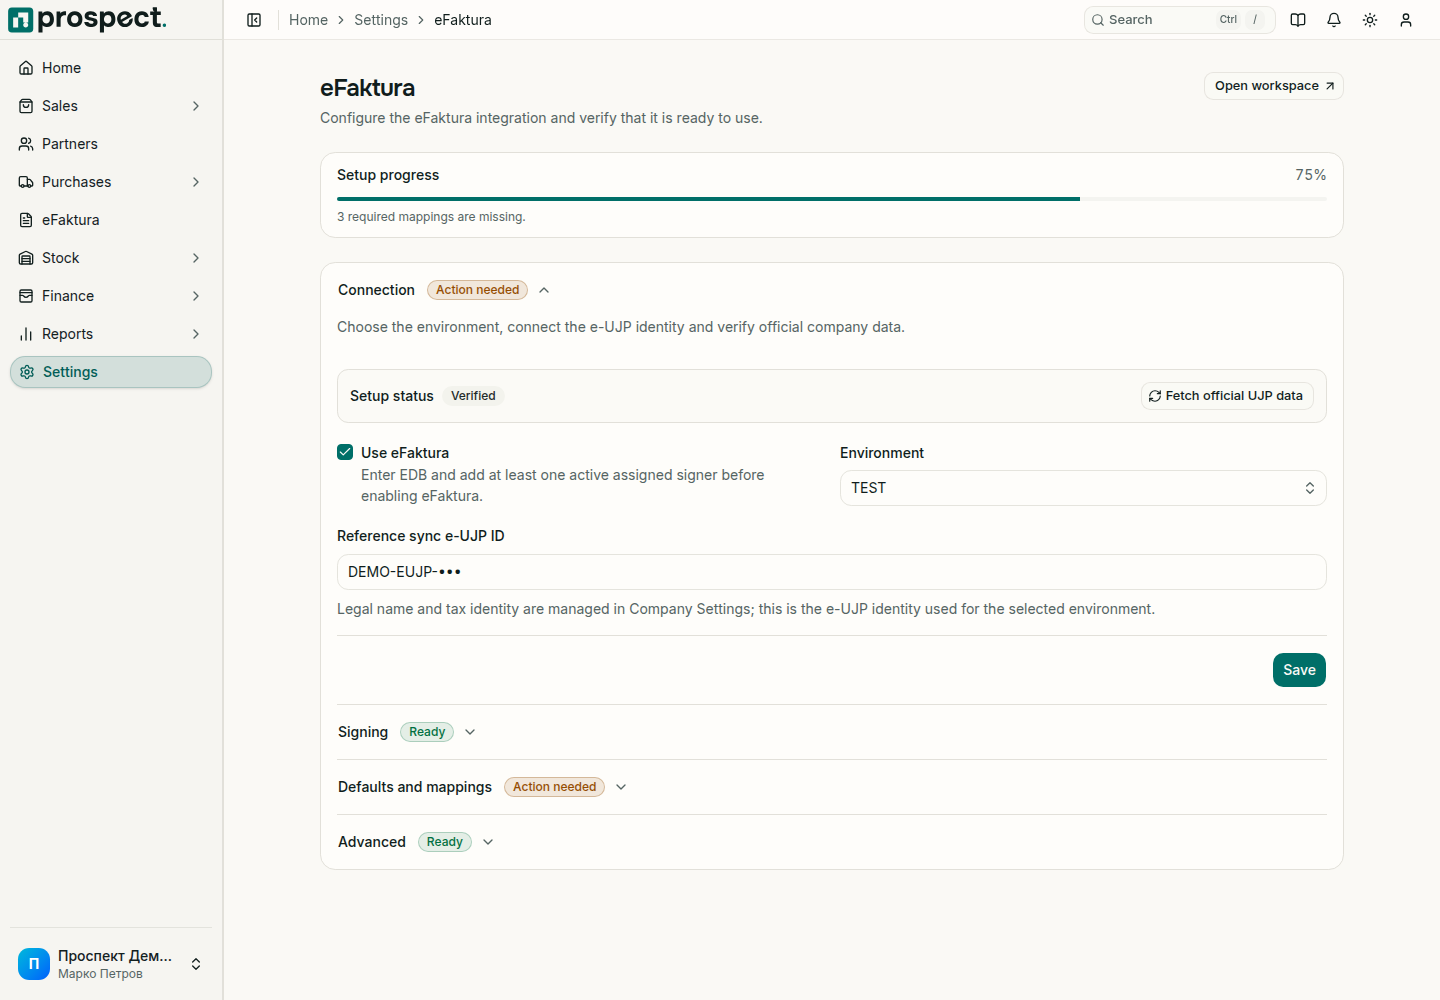
Company tax number (EDB) and legal name. They must match the company registered at UJP. Change them under Settings → Company.
A signing certificate. Open Signing and follow the four steps on the computer you sign from. See Signing on your computer.
VAT codes and payment type. UJP has its own code for each VAT rate and payment type. Prospect suggests them from UJP's lists; check them and choose Confirm these codes. A 0% rate has several possible codes, so you choose that one yourself.
Turn on eFaktura. Choose Start using eFaktura. From then on an invoice sent through eFaktura counts as issued once UJP has received it, and new customers get their invoices through eFaktura unless you choose otherwise for a customer.
Customers you already had keep getting their invoices by email or on paper. After eFaktura is on, the same page offers to move all domestic customers to eFaktura in one step; you can change any customer back on their page.
Advanced holds what most companies never need: the test environment, purchase VAT reporting, UJP's code lists and the full test run. None of it has to be completed before you start.
Never place certificate files, PINs, tokens, or private keys in notes, screenshots, browser storage, or support messages.
eFaktura Overview and Prerequisites
Understand Prospect's North Macedonia eFaktura scope, directions, environments, signing, and responsibilities.
Install and Pair the Windows Local Signer
Install Prospect Signer on Windows, pair it with your browser, and sign eFaktura documents with a USB token whose PIN never leaves your computer.